I am using pattern B5723 from Butterick with my own modifications. :) We will be sewing with a 5/8 inch seam unless otherwise stated. (FYI: This is the basic seam allowance on clothing items)
Cutting:
If you have fleece you can just cut it out with the pattern on top.
With flannel you need to first bring the bottom to the top and cut your
fabric in half. (So for the 2 1/2 yards, you will now have 2 piece of 1
1/4 yard)
Then you need to open up your fabric and lay one piece with
the pattern facing down. Then put the other piece on top, wrong sides
together.
Placing the pattern: Then you need to place the pattern on the fabric. You need to locate the line running down the middle of your pattern called the grainline.
You then need to measure from the center of the grainline to the selvage edge. Mine was 16 inches. Then you measure from the right side of the grainline to the selvage edge and the left side of the grainline to the selvage edge. They should all equal the same amount. You are essentially trying to get the grainline straight.
Then moving you hands from the grainline, pin down the edges of the pattern.
Cut out around the pattern.
Notching: After you have cut out your pattern piece, you need to look on your pattern for little arrows. These are notches. I just cut into the arrow or triangle. There is usually one or two. Cut both if there are two. You will need these notches later to line up your fabric for sewing.
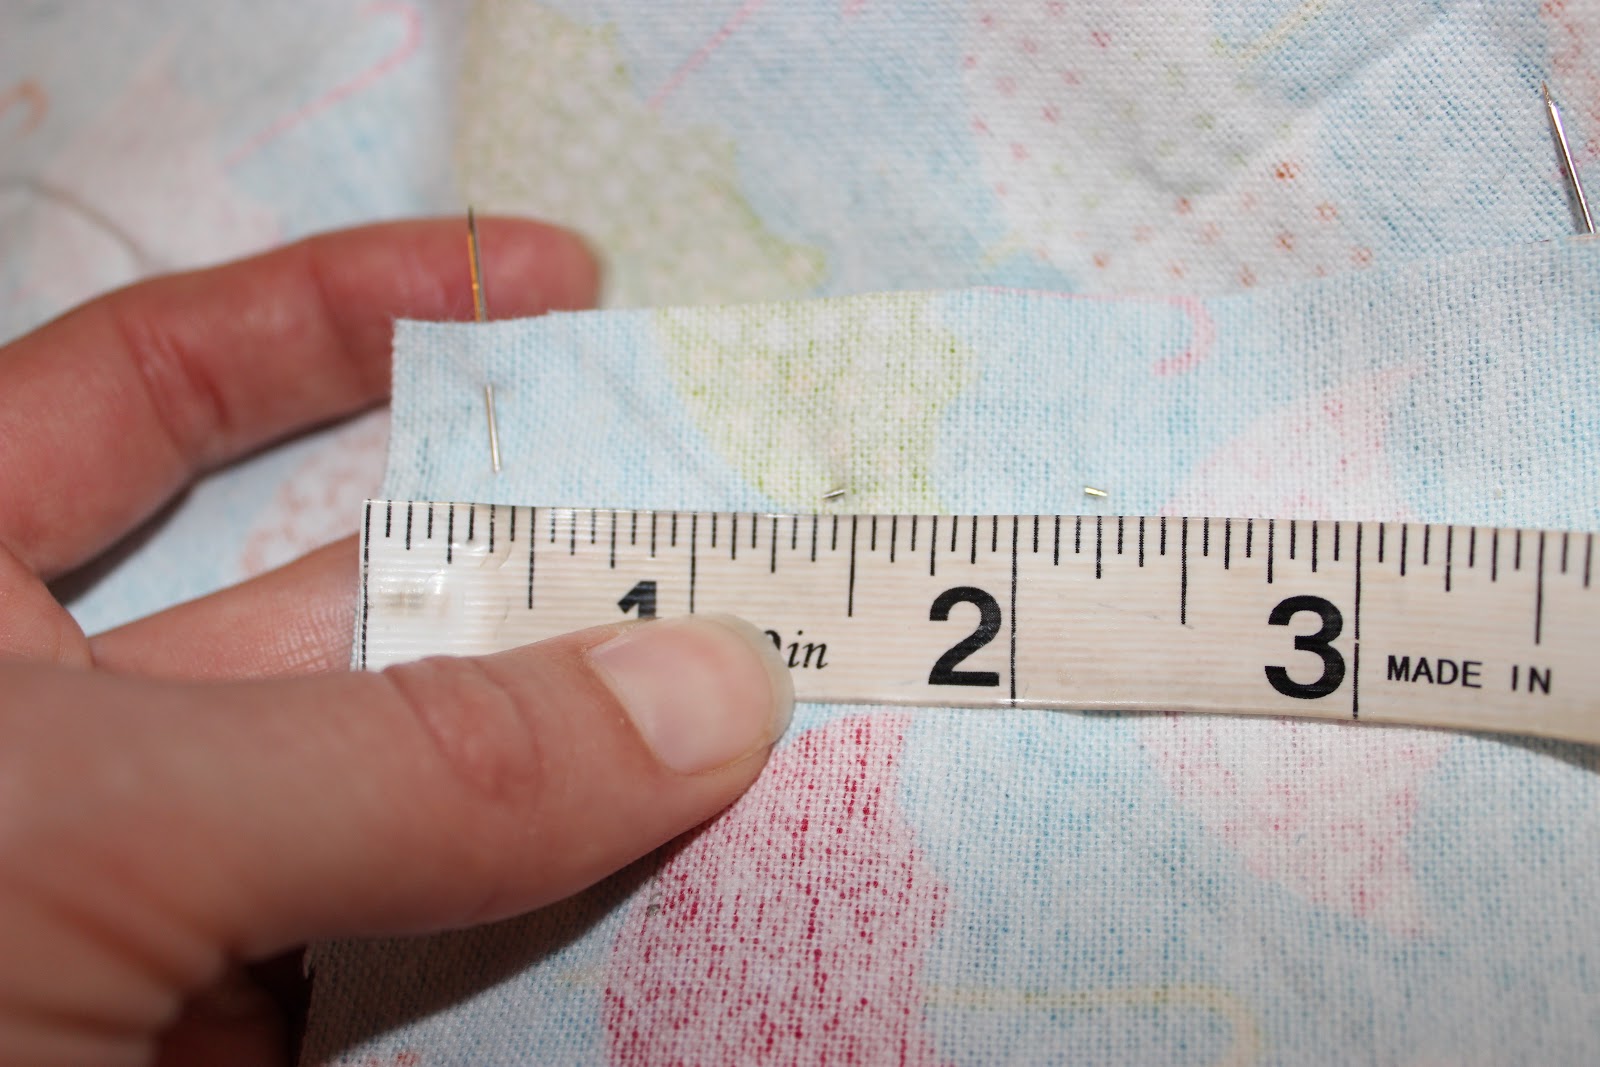
Don't Forget: Measure 1 7/16 inches (I know, weird number, but trust me!) from the top. Mark it with a pin on both fabric pieces. Then from your first pin, measure 7/8 of an inch and mark with another pin.
Sewing: With right sides together (this means the side with the design on it), pin each pant leg together making sure to match notches and edges of the fabric. You will be making a tube that looks like legs. You will have 2 and you are not to sew them together....yet. Then sew!
Don't forget: to backstitch at the beginning of your seam and the end! You will do this ANYTIME you sew.
Pressing: The difference between an article of clothing that looks homemade and one that people question whether it is homemade is pressing! You need to press open any seam you sew. (Above is un-pressed-is that a word?)
Press!
Ahhhh, much better!
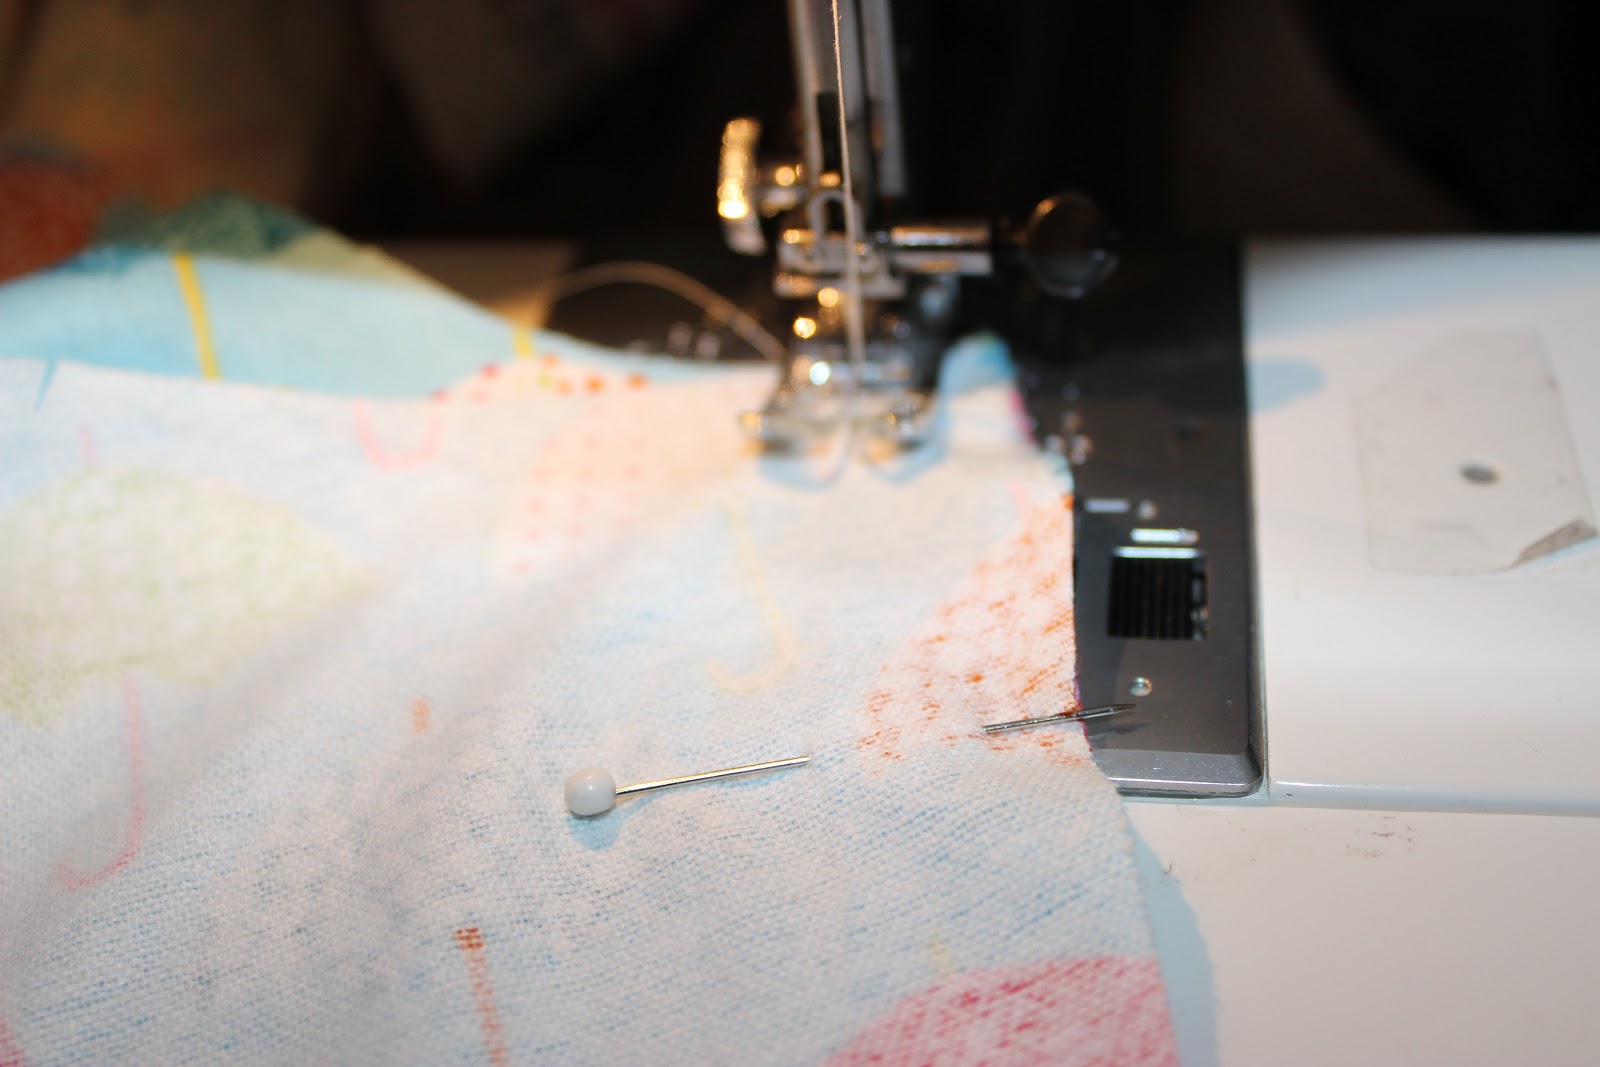
Pinning: Now put one pant leg inside the other one, right sides together. (Do you see my marking pins near my hand?) You will match notches in the fabric and the seams you previously sewed. (and edges of the fabric.)
Sewing: Then sew around where you just pinned. When you get to your marking pins (remember the 1 7/16 pin?) you need to backstitch.
Then pick up your needle and drop it again and start sewing at your
other marking pin. Remember to backstitch. So yes, you just created a
hole in your pants!
Then you need to sew 1/4 of an inch away from where you just sewed. So you will be sewing on the 3/8 seam allowance line. You don't need to do this around the whole thing. Either from notch to notch or about where my finger is pointing...
.....to down here!
Cutting: Then trim the extra fabric from the points you just sewed the 3/8 inch seam, close to the seam. Don't cut through the stitching!
Press: Yes, you guessed it, press again!
Press: From the top, measure 1 1/4 inch.
Then press that down the entire way around the top.
Press: When you are done, open it back up. Measure 1/4 inch.
Now press that down all the way around the top. (Do you see our previous pressing line below where we are ironing now?)
Sewing: Starting at the back of your pants (don't forget to backstitch!) sew right along the edge of where we first pressed at the top (the 1 1/4 inch). It isn't even really 1/8 inch. Just as close to the edge as you can.
Sewing: Now turn under the second line we pressed (the 1/4) and sew that near the edge. Do you see our first set of sewing?
Double check: Remember that hole that we sewed into our pants? You need to check at this point if your hole is center between the 2 lines you just sewed. I will give you a hint: This is where the drawstring is going to come out!
Hem: Measure 1 inch from the bottom of the pant leg.
Press: And you guessed it, press it!
Now open it up and you will fold the edge of the fabric to the line you just pressed. Then fold it again so it looks like this! Nice and clean hem with no raw edges.
Sewing: I always start with a pin to hold down the fold. Then go around the entire pant leg and sew the hem. Do this to both pant legs.
This is it for today! Stay tuned for the great reveal and a tutorial on how to do the drawstring!


No comments:
Post a Comment